Many houses have frequent do-it-yourself projects including regular drywall hole repair. Whether brought on by house renovations, inadvertent damage, or hanging photographs, these flaws might compromise the general look of a room. Fortunately, fixing drywall holes is not only doable but also a rewarding approach to improve one’s house without expert help. Homeowners can properly and quickly do this chore with a few simple equipment and supplies.
Moreover, the repair procedure is simple and affordable, which makes it a common decision for those trying to save money and feel successful. Learning to fix these defects helps people to enhance the appearance of their house and contribute to their own toolset. From preparation and acquiring supplies to the last details that will leave walls looking as new, this guide will provide a thorough, detailed step-by-step method. Anyone can develop this vital ability with enough time and effort.
Assessing the Damage and Gathering Tools
Evaluating the damage requires a distinct separation between the many kinds of holes discovered in walls. Like nail holes, little holes are simple to repair and often cause little problems. Though they need much more attention, medium holes—like dings—can still be corrected with a few tools. Like fist-sized ones, large holes might indicate structural flaws or suggest that the construction has to be corrected more generally.
One must have the correct tools if one is to do these repairs successfully. Necessary supplies include spackle for minor holes, a putty knife for applying the spackle, sandpaper to smooth out the surface post-application, drywall patches for medium-sized and big holes, primer to get the patched area ready, and paint to beautifully complete the work. A flawless repair depends on each instrument in some important capacity.
Successful wall repair depends on selecting the correct patch material. A lightweight spackle is perfect for little holes. One should use a bigger drywall patch for medium holes. Given the wall type—drywall or plaster—ensures compatibility and longevity of the repair, hence it is advisable for big holes to use a heavier, more durable patch material.
Preparing the Area for Patching
A professional and smooth finish depends on the area being ready for fixing drywall. You really must start with cleaning the surface. This entails cleaning a repair area by removing trash and dust. A clean surface improves the whole efficacy of the repair and helps the patching material to adhere properly.
Loose edges then need to be cut off. Cut away any jagged or loose drywall carefully with a utility knife. This stage guarantees correct adhesion of the patch and provides a smooth surface for the bonding of the new material to be successful.
Maintaining a neat workstation also depends on keeping adjacent spaces free. Using painter’s tape or drop cloths helps protect floor and surrounding surfaces from any problems the mending materials might produce. Covering these places helps one to maintain the workstation orderly and reduces the possibility of needless cleaning.
Cleaning the surface, cutting away loose edges, and guarding nearby areas help to prepare the area for mending. These guidelines provide the basis for a good and aesthetically pleasing drywall restoration.
Applying the Patch and Spackle
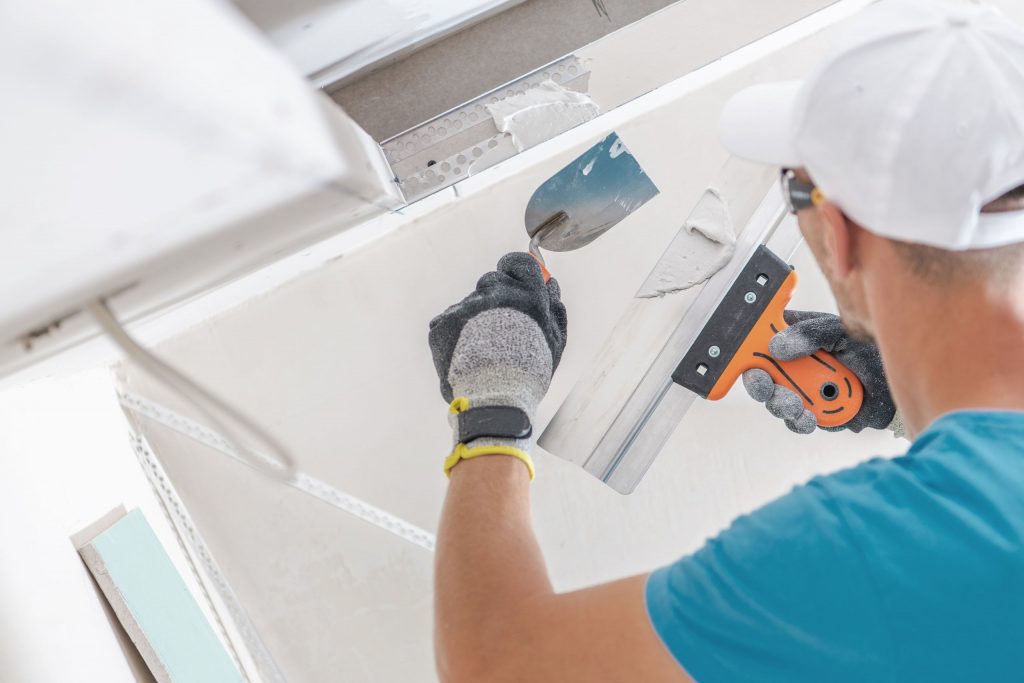
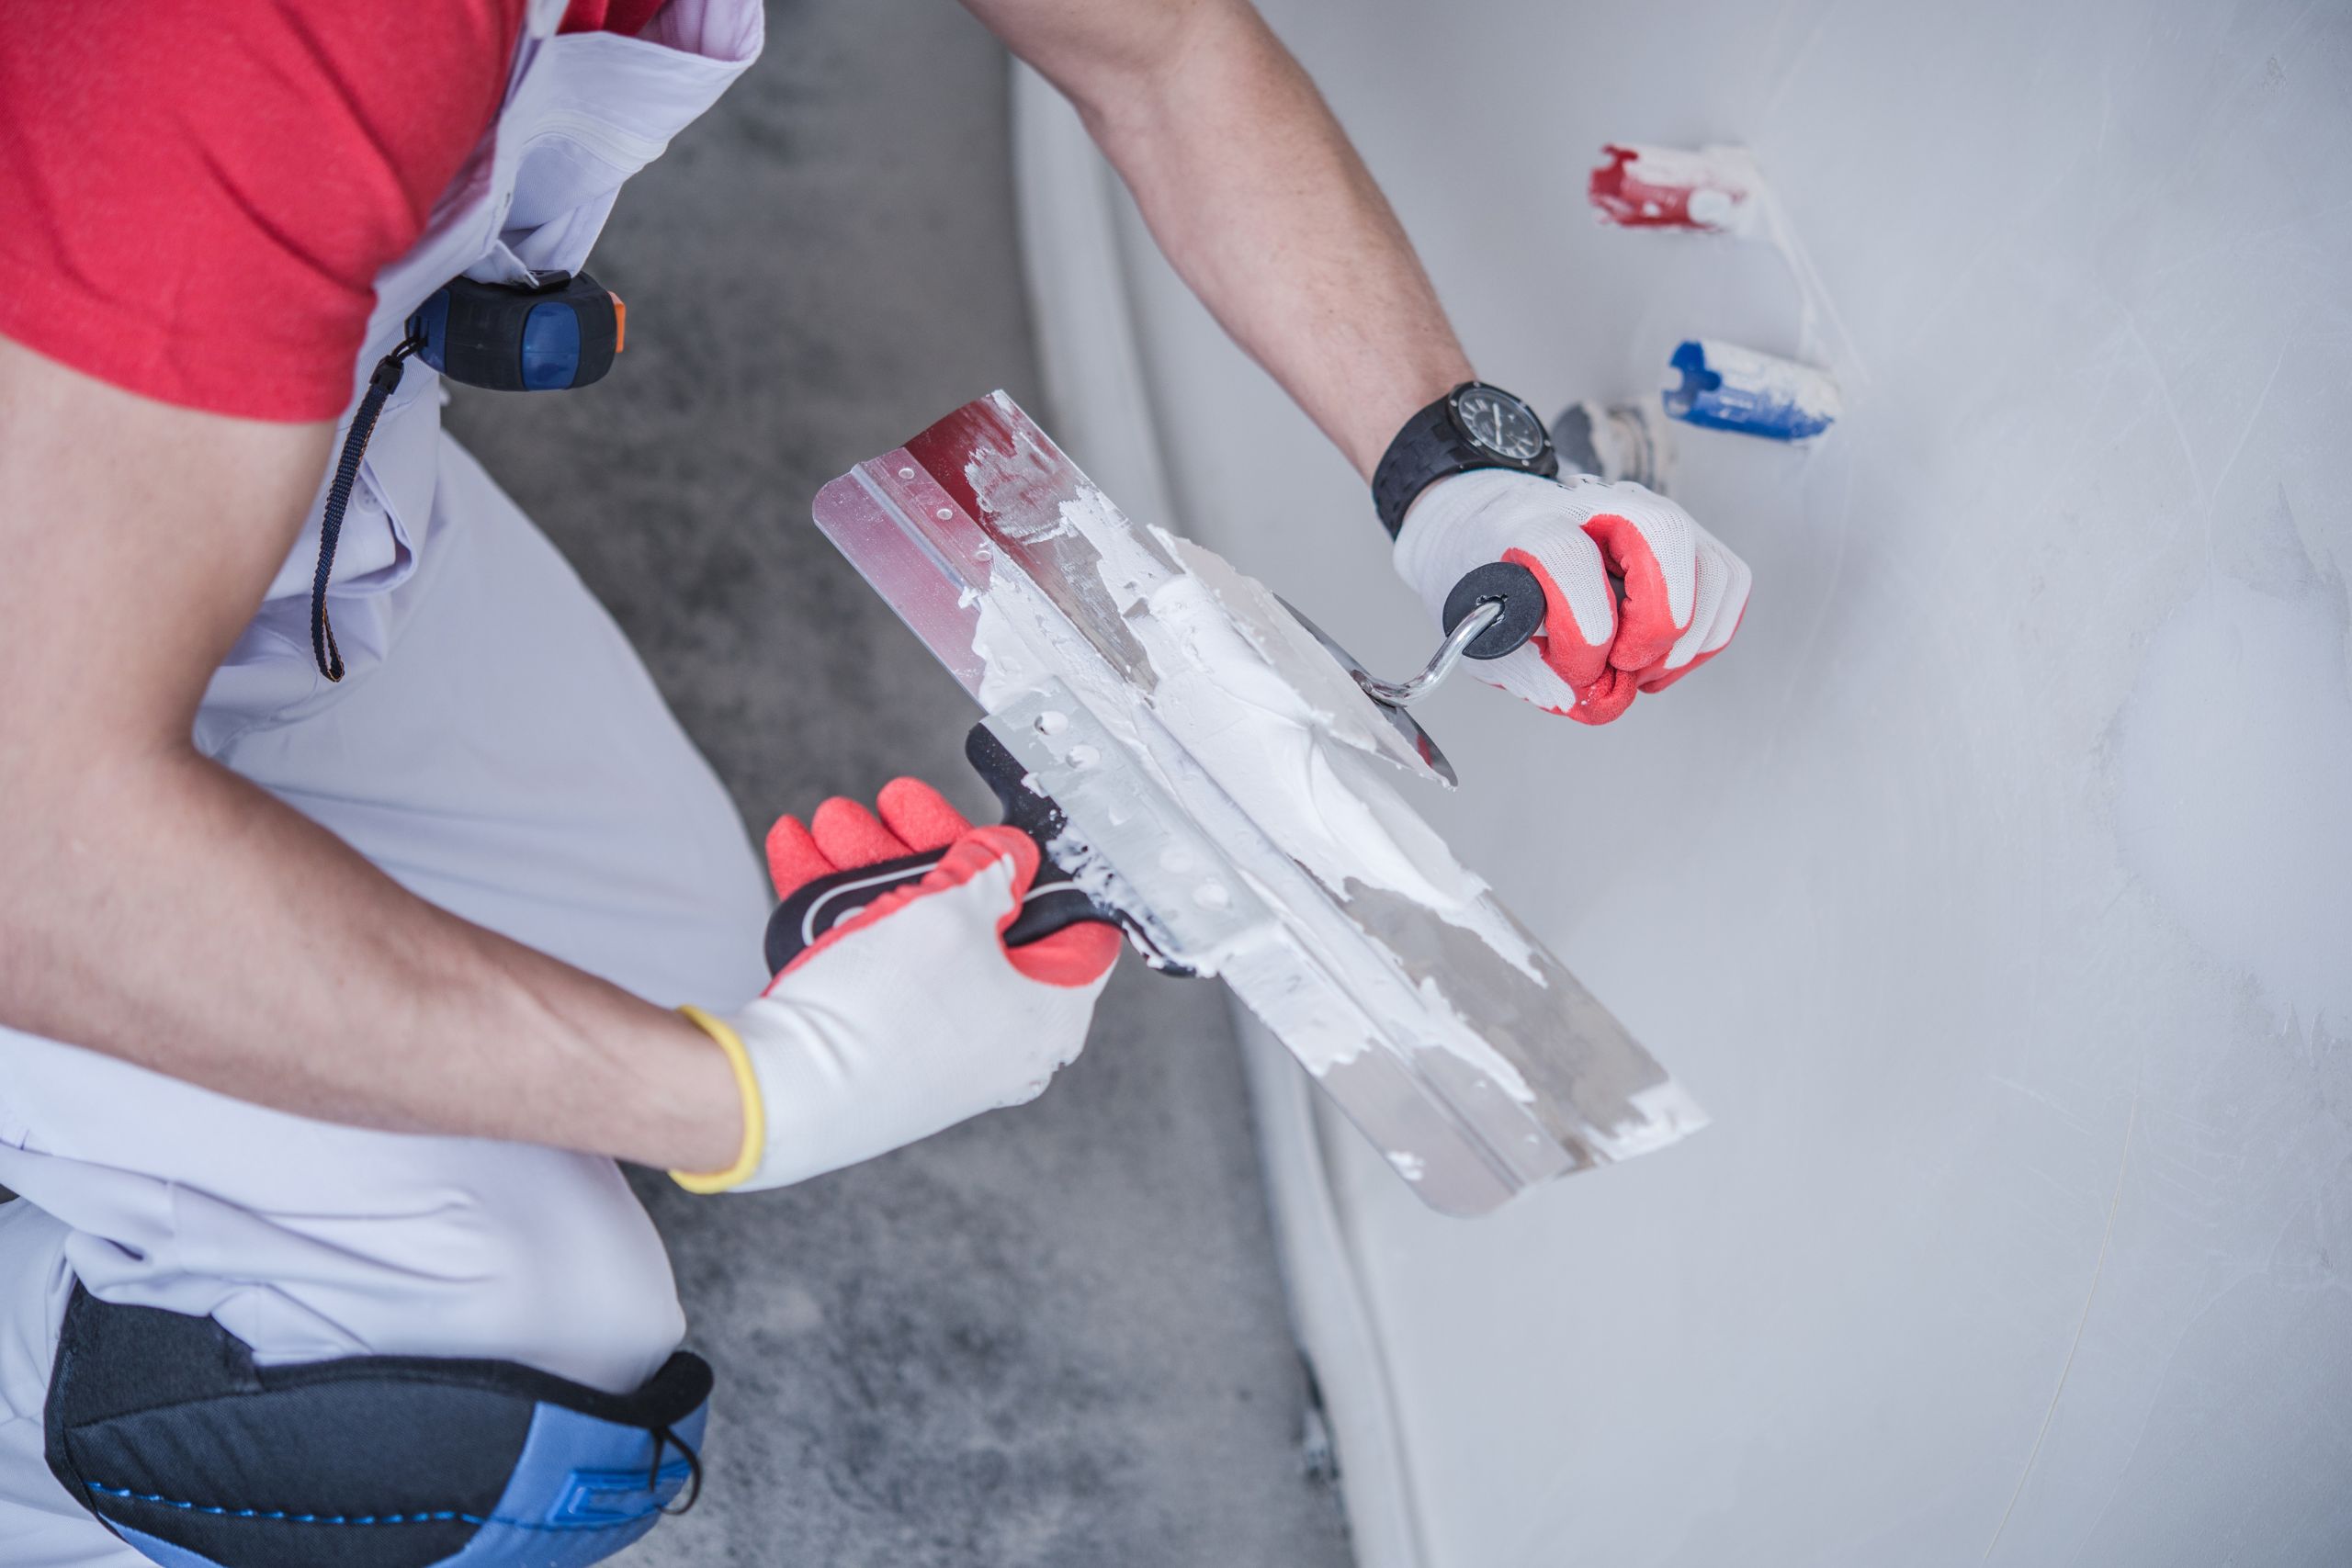
A professional and smooth finish on walls depends on applying the patch and spackle. For little holes, the technique starts with spackling a little bit within them. A light application with a putty knife guarantees the spackle fills the hole cleanly. One should use a self-adhesive patch for medium to big holes. This patch lays a solid basis over the hole. Then joint compound is sprayed over the patch entirely.
Applying thin, uniform layers of spackle or joint compound calls very careful workmanship. Before applying the next, each coat should be gently sprayed and let to completely dry. Along with preventing cracking and peeling, this approach produces a more blended surface. Rushing through this stage could provide disappointing outcomes, hence patience is a great attribute in this procedure. Using this method will help homeowners to guarantee that repairs are almost inconspicuous, thereby improving the wall’s whole appearance and proving their meticulous nature. Correct application methods provide the foundation for a polished finish, therefore demonstrating the great benefits of little effort in home remodeling.
Sanding and Smoothing the Surface
The sanding method is quite essential to provide a smooth surface on a patch-made drywall. One may efficiently smooth out the mended area without damaging the surrounding drywall by running fine-grit sandpaper. This method guarantees a professional look once painted by allowing a flawless change between the restored and original surfaces.
Once you’re sanding, you really have to search for defects. Running a hand over the surface helps one to quickly see any uneven surfaces that could call for further study. This tactile inspection helps to identify areas needing further sanding, therefore guaranteeing an identical texture throughout the whole surface.
The final touch-up is a crucial stage of the surgery. It’s cleaning sanding dust using a moist cloth to get the surface ready for the following step, painting. This cleaning stage assures a perfect finish and improves paint adherence as well. When carefully applied, each of these techniques helps to provide a polished outcome highlighting the caliber of work done on the drywall restoration. With great attention to detail, one can get a perfect, visually appealing surface.

Conclusion
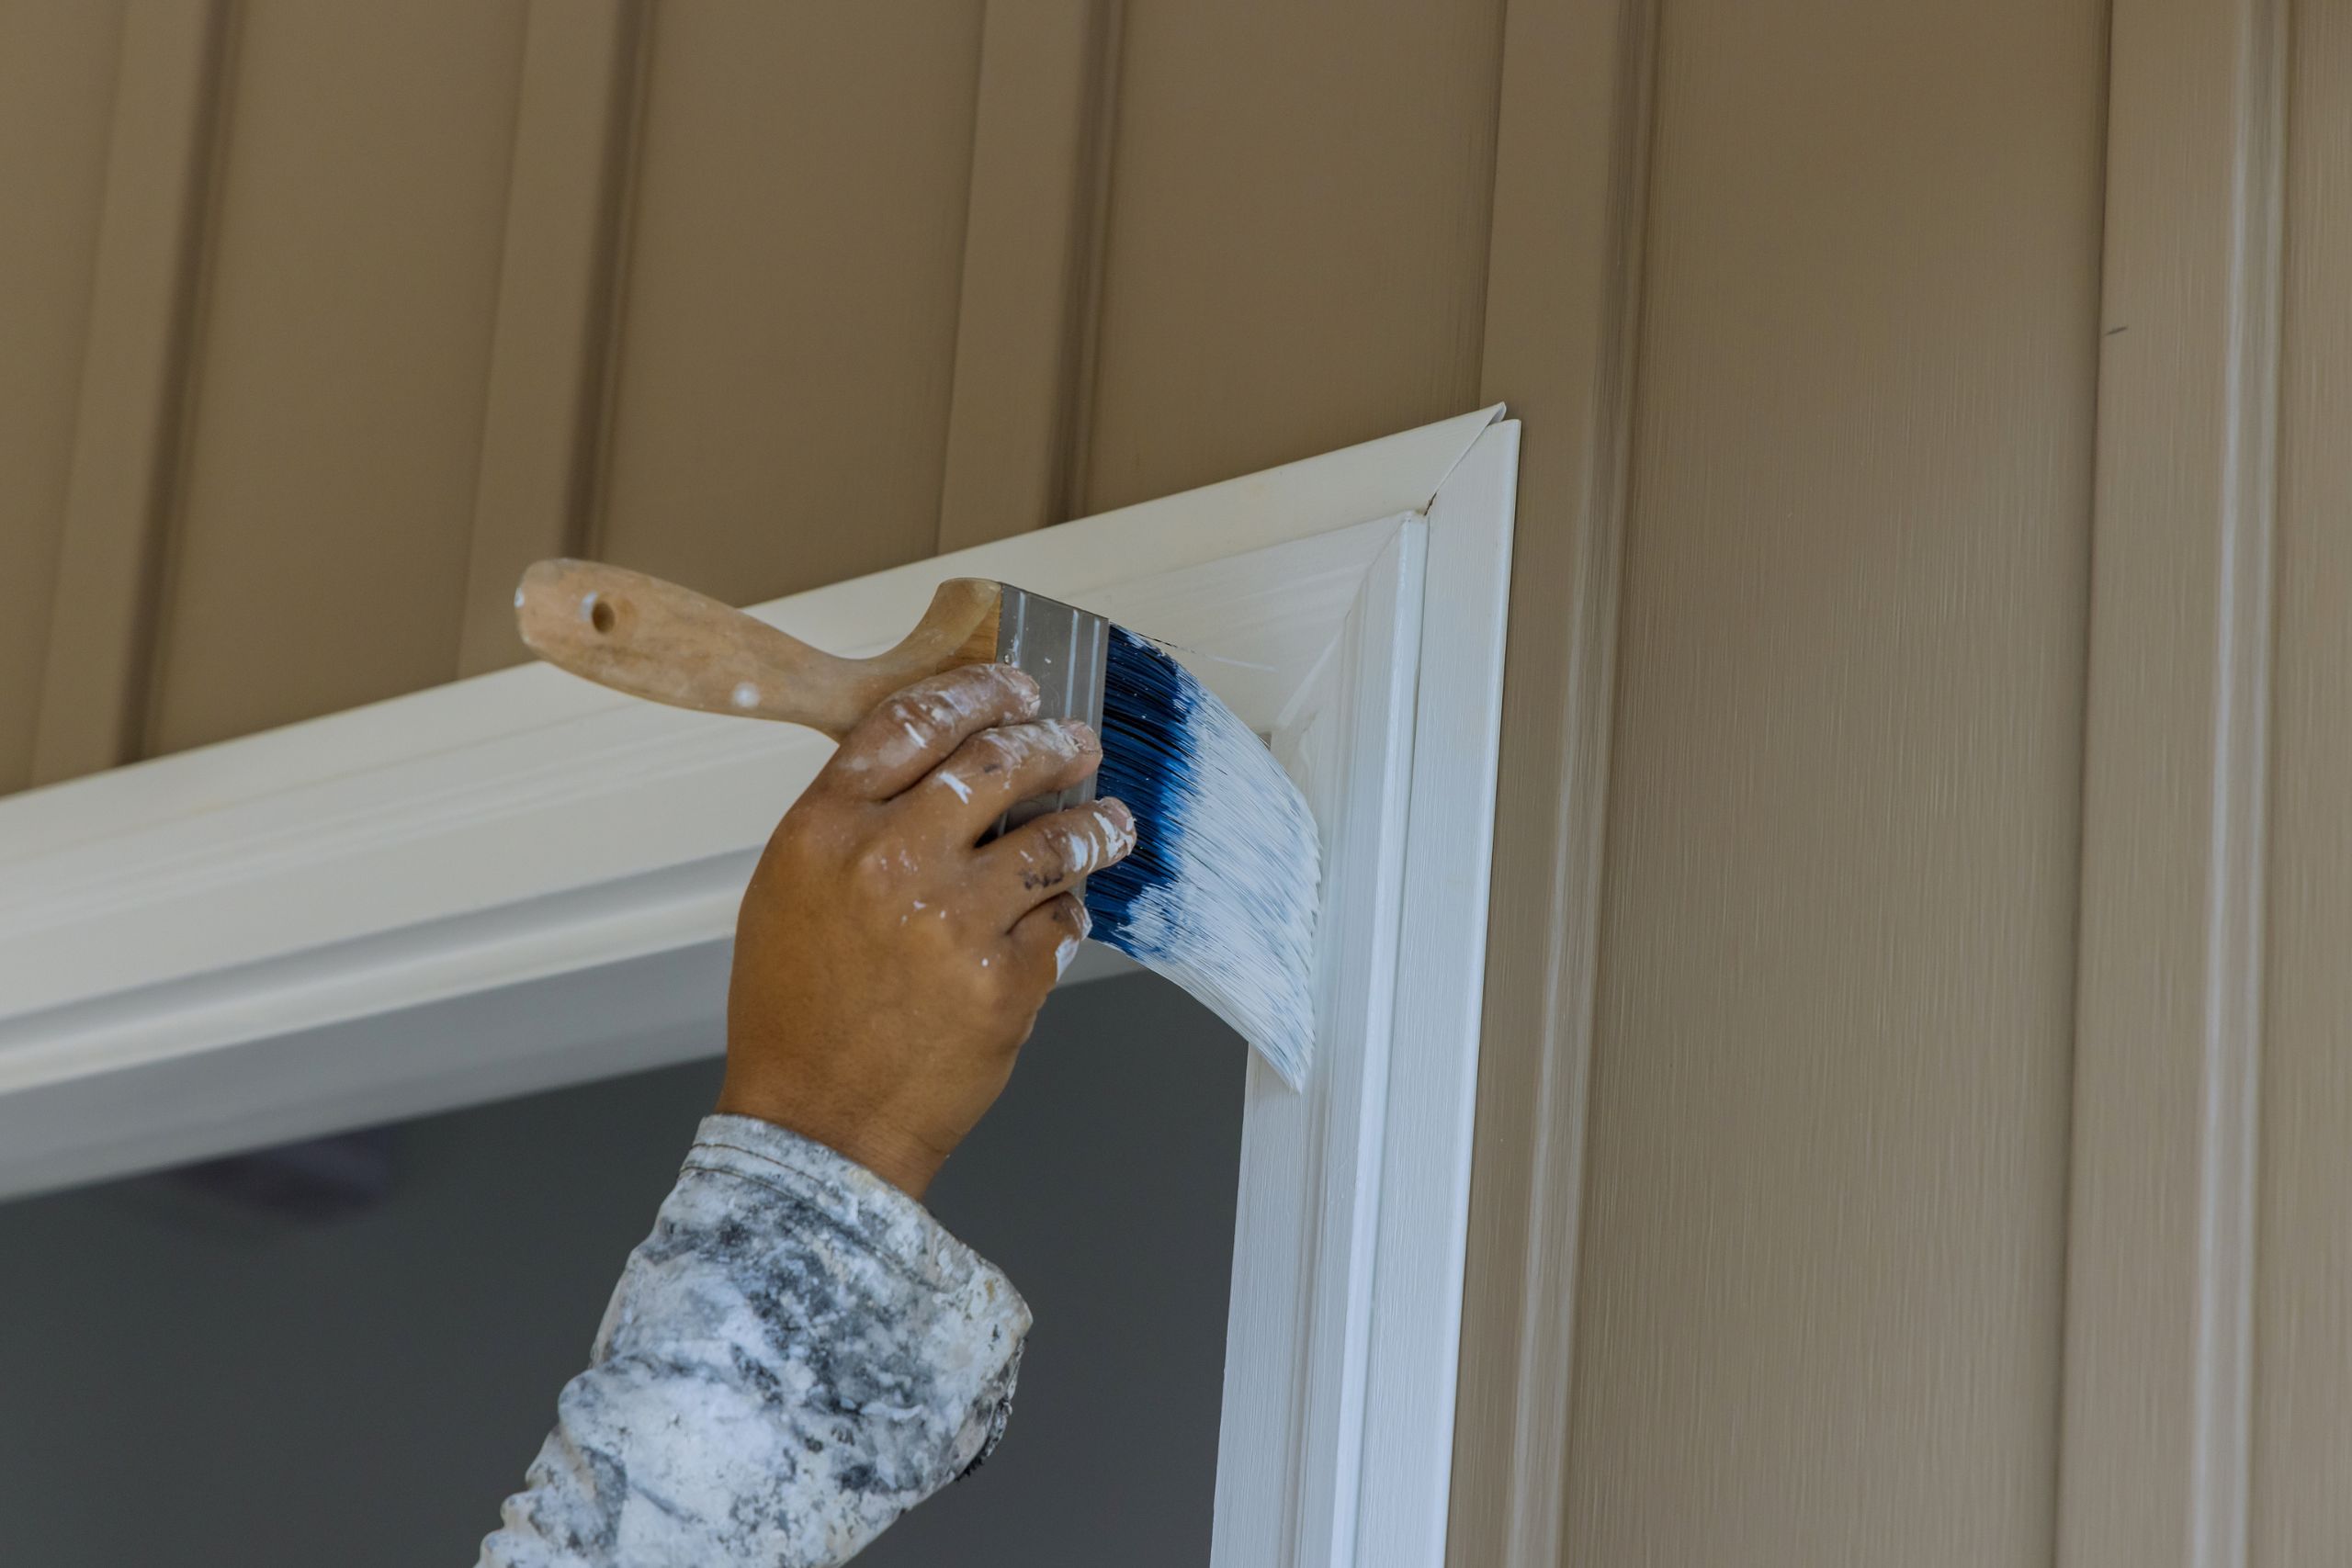
All things considered, fixing and painting drywall holes is an easy task anybody can learn with a few basic actions. First, tidy the area and decide on the appropriate patching compound to cover the hole; next, use a putty knife to smooth it out for a perfect finish. Carefully smooth the compound to provide a flat surface as it cures; priming will then aid to improve paint adherence. Then, for a professional touch, choose a paint color that complements the surrounding wall applying it with a brush or roller. Fixing little wall damage not only improves the appearance of a house but also makes one more proud of their ownership. Homeowners may make their walls perfect again with a little time and work, therefore producing a polished and orderly environment. Encouragement of readers to accept these repairs and enhance their living areas comes from confidence in do-it-own initiatives. Readers are urged to investigate a dedicated site that explores the craft of home repair for more “printing techniques and tips“.


